
Tips for Building 3D Wooden Puzzles
Tips for building 3D wooden puzzles
What is a 3D wooden puzzle?
A 3D wooden puzzle is similar to a model kit. It may represent an everyday object such as a car, lorry or boat, an animal, a jewellery box or many other subjects.
Its parts are pre-cut on wooden sheets rather than moulded like the parts of a plastic model kit. Most designs slot together without glue, although a small amount may occasionally be useful when permitted by the instructions.
Many mechanical models reproduce real functions such as opening doors, moving engine pistons or forward motion. Designs range from simple introductory projects to complex builds.
How do you assemble a 3D wooden puzzle?
Study the instructions carefully
Before starting, read the assembly guide and locate the numbered parts on the wooden sheets. Many kits use clear illustrations and pictograms, sometimes accompanied by instructions in several languages.
Preparing the sheets
If you have a suitable workspace, you can very lightly sand the sheets with fine abrasive paper, around 400 grit, to improve their feel. Do not sand too heavily, as this could remove laser-engraved markings. Remove the dust carefully before assembly.
Useful tools
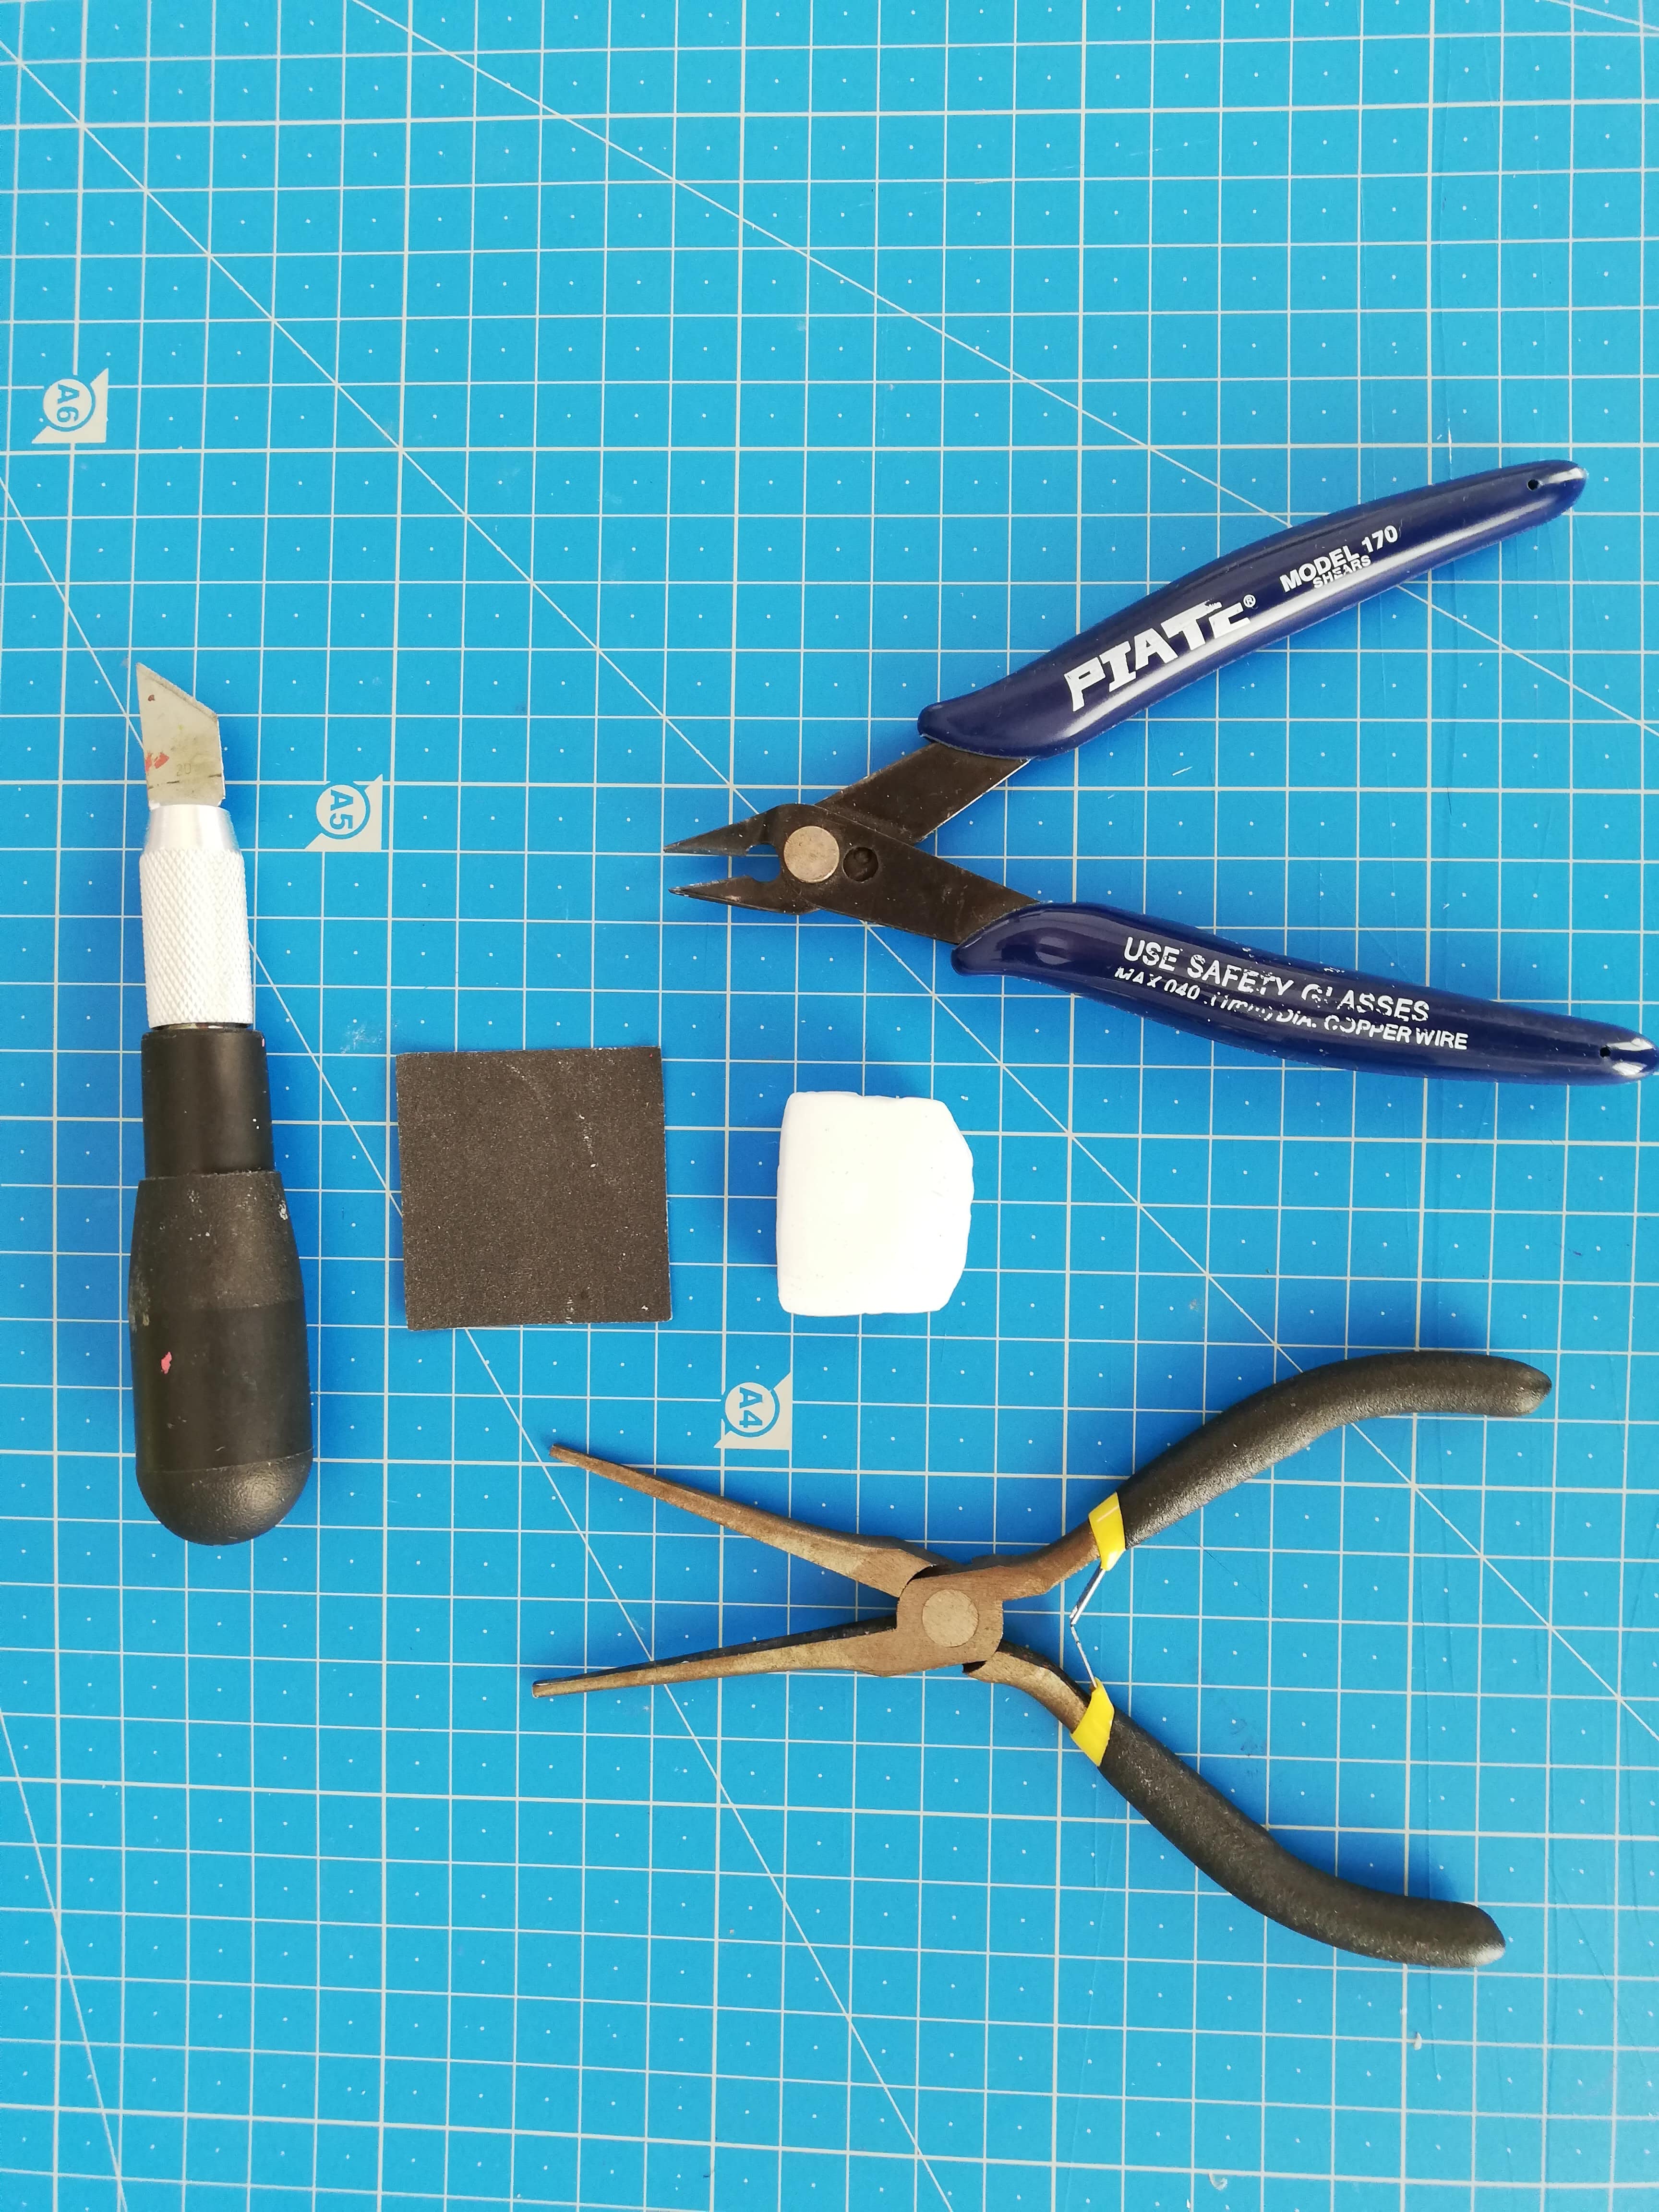
Depending on the kit, useful tools may include a precision knife, craft knife, small flat-nose pliers, a helping hand, abrasive paper and a cutting mat. Browse our modelling tools here.
During assembly
Removing parts from their sheets
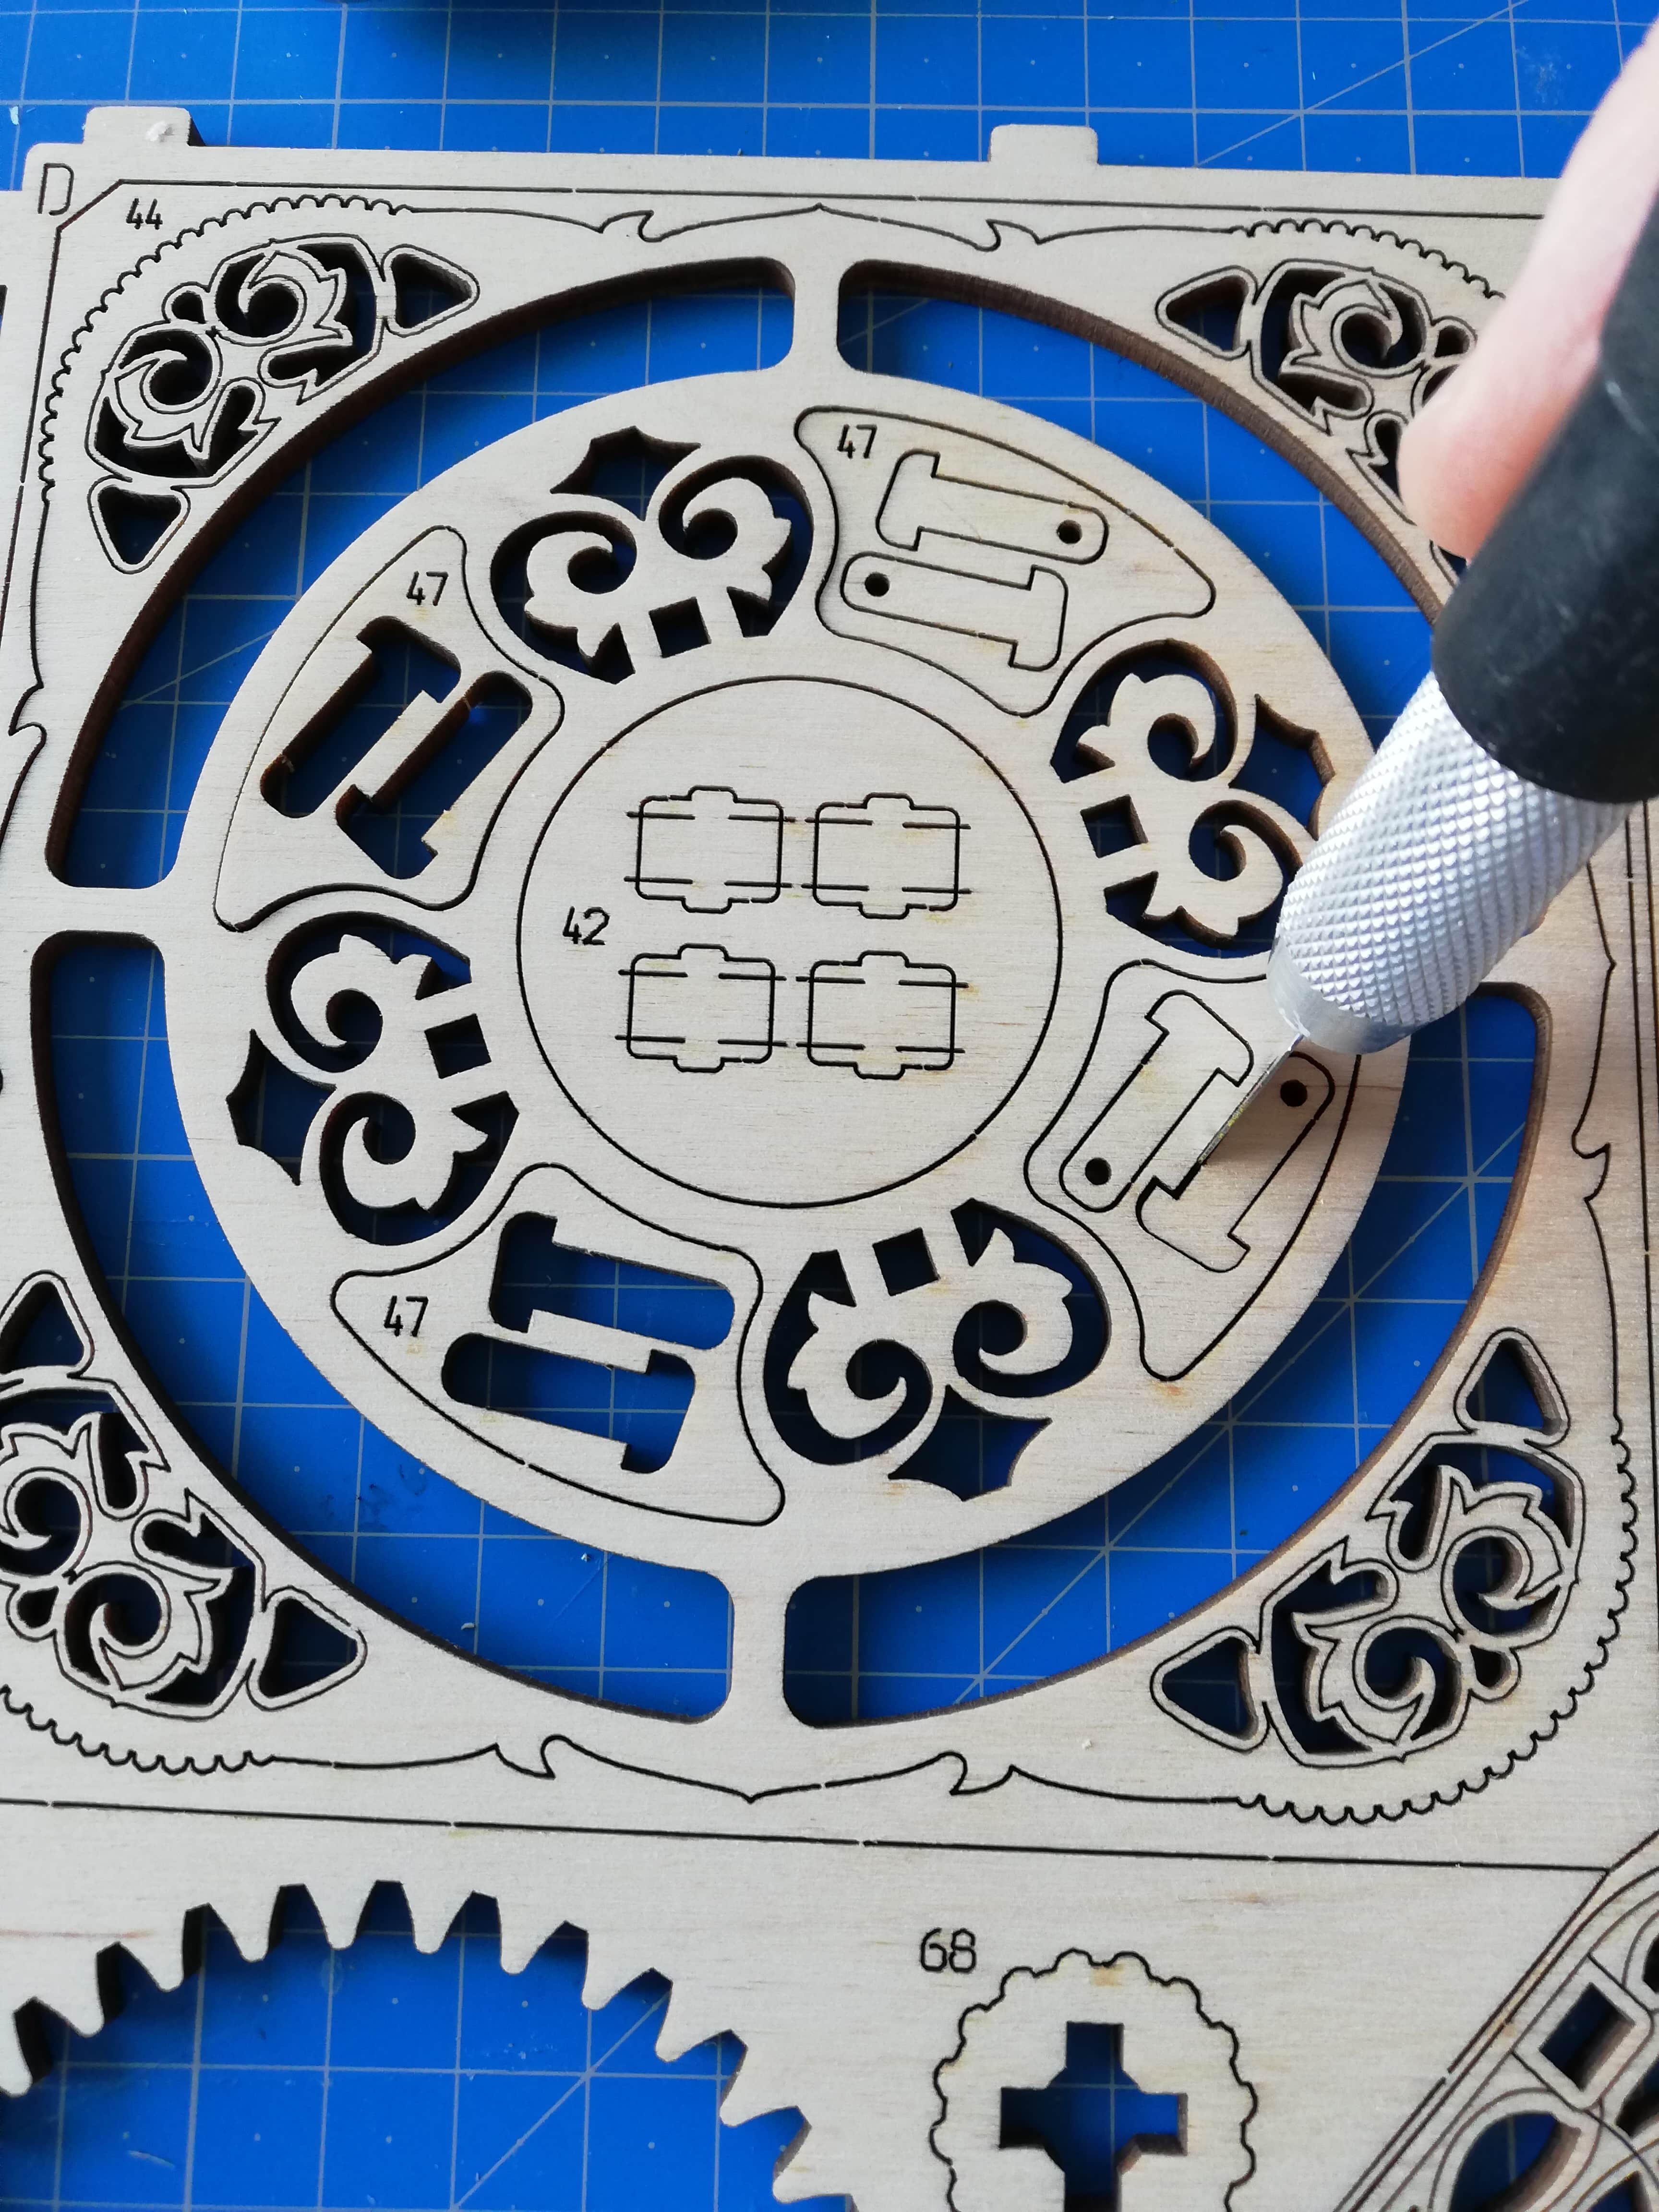
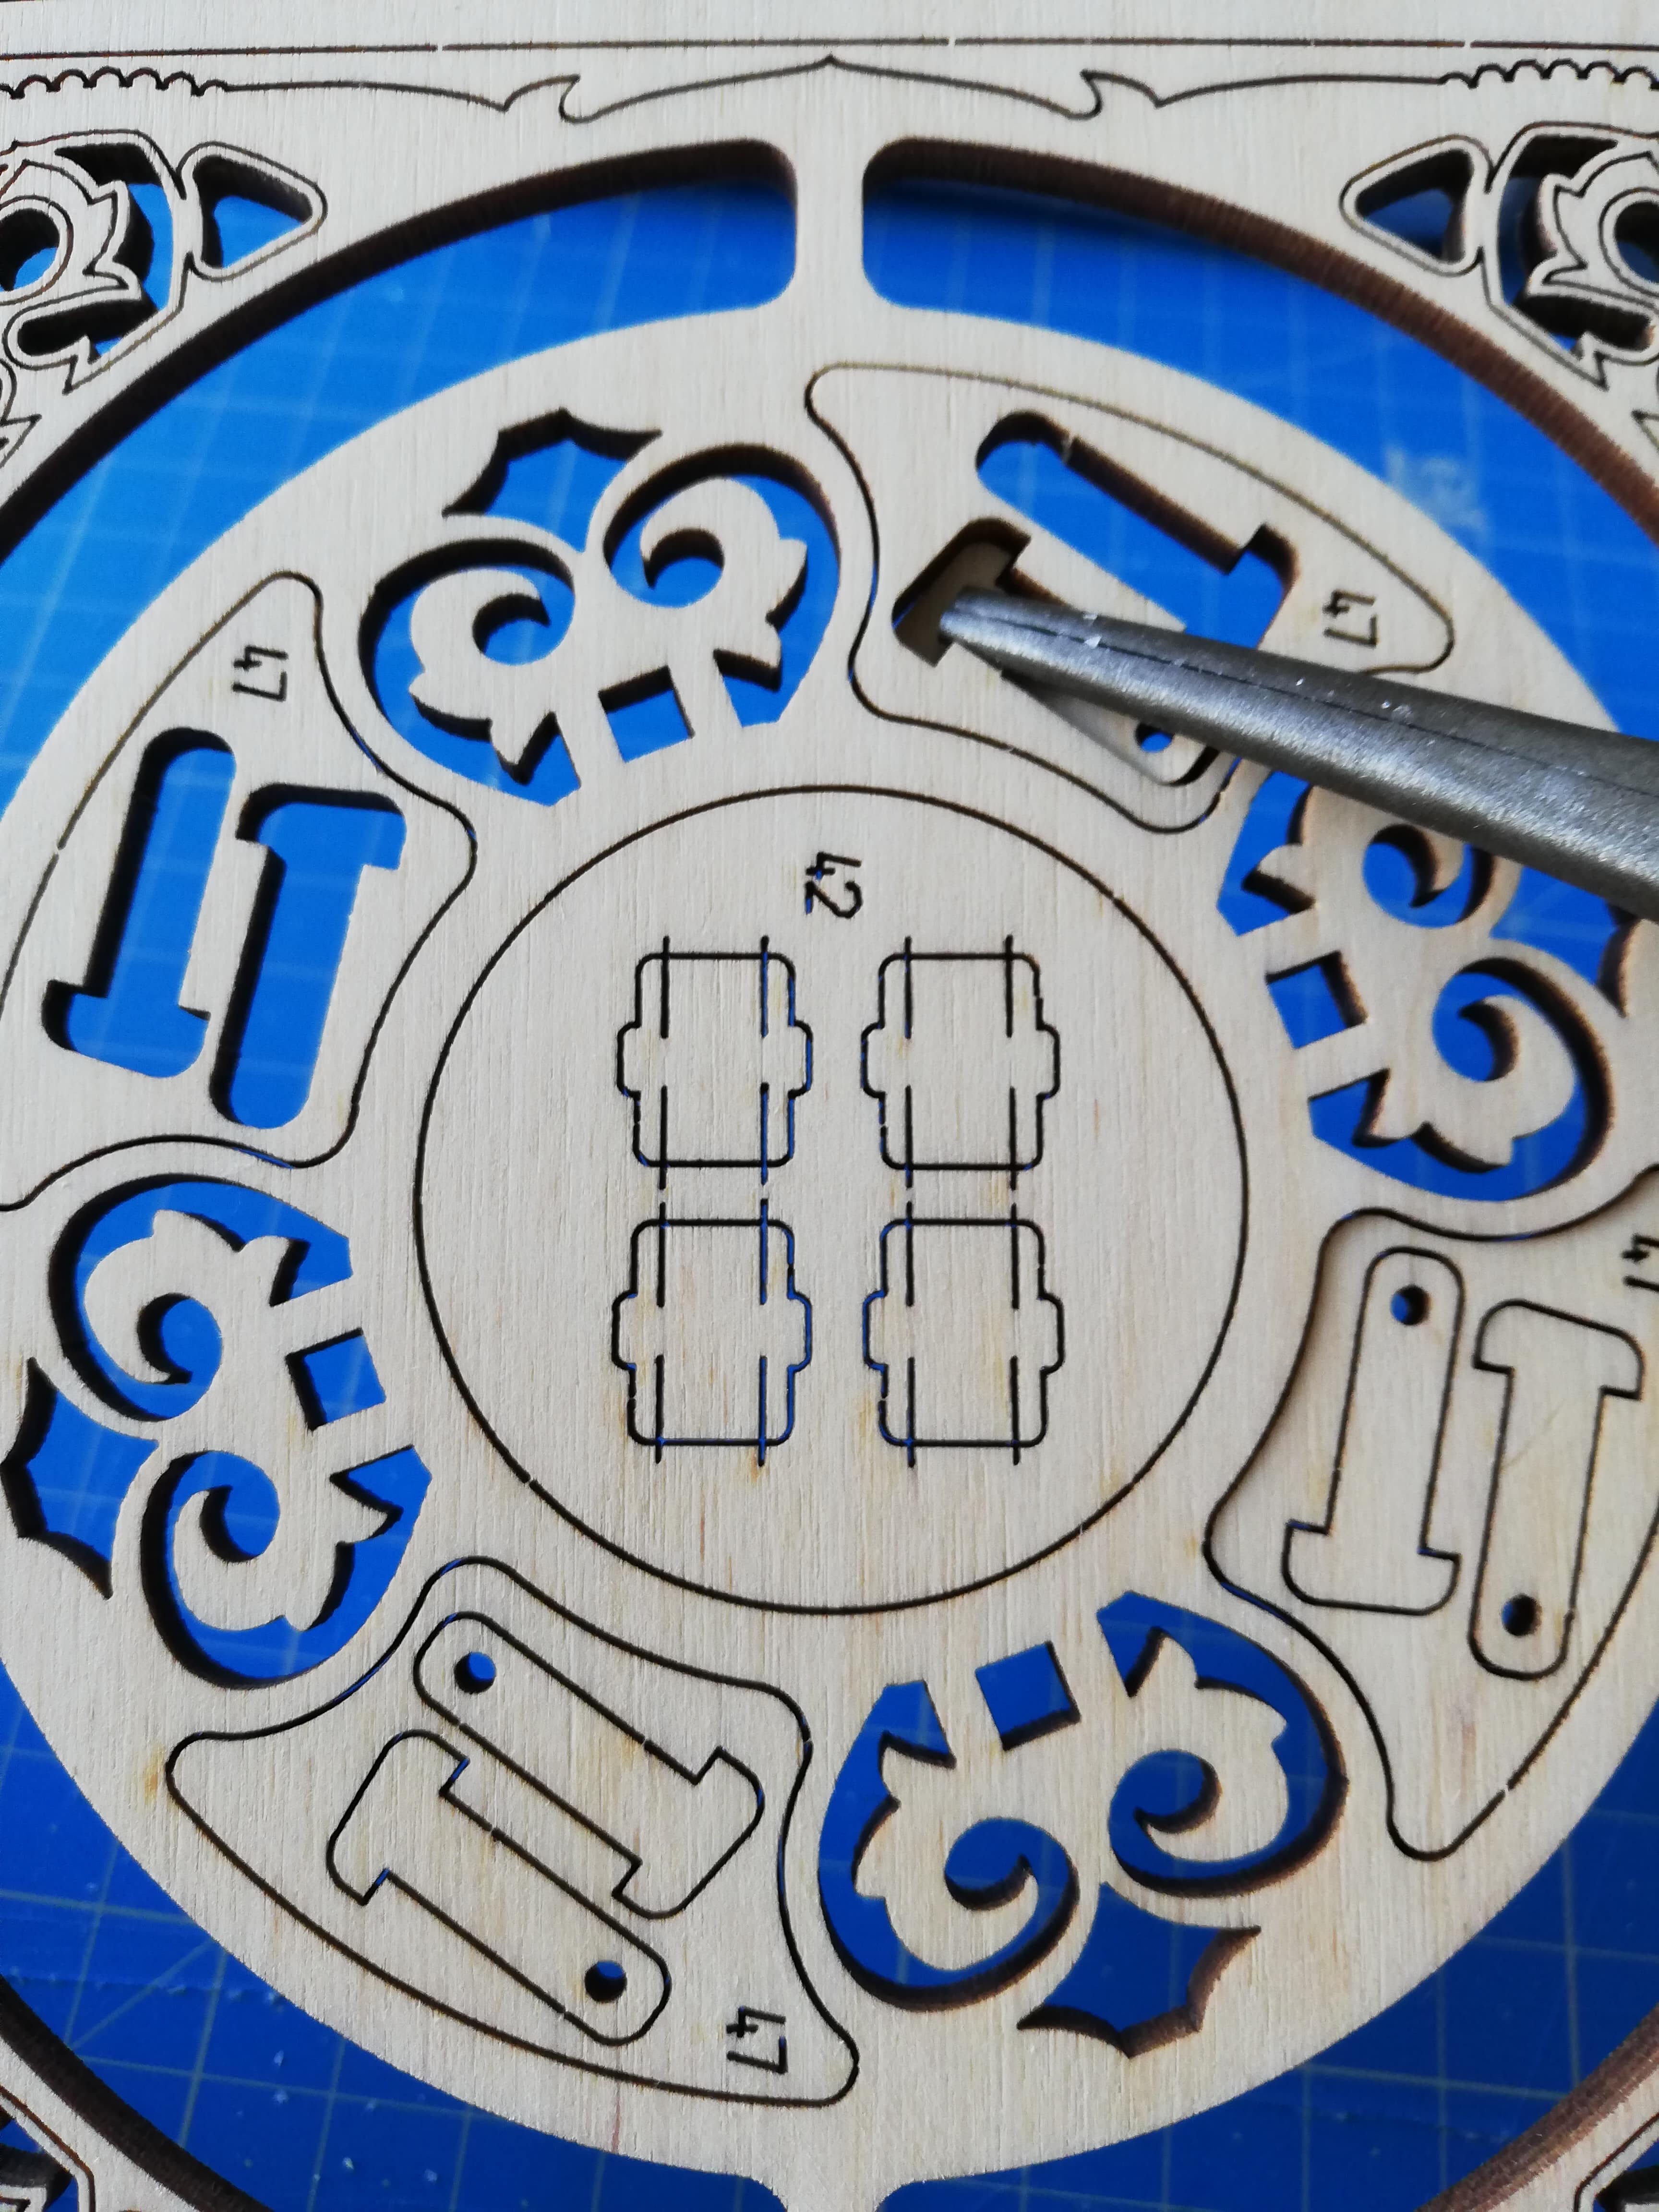
Some parts can be released with gentle finger pressure. If a part does not move easily, do not force it: use a sharp modelling blade to cut the small retaining tabs without damaging the component.
Sanding the wooden parts
Once removed, lightly sand attachment points and edges to remove burrs and improve assembly. Mechanical contact surfaces may also need careful smoothing so that moving parts operate freely. Always follow the kit instructions.